Arc plotter - drawing with arcs
Mon Mar 09 2026
There's something satisfying about a curve that flows through a set of points and doesn't break a sweat doing it. No kinks, no sharp corners - each segment picks up exactly where the last one left off, at the same angle, heading in the same direction.
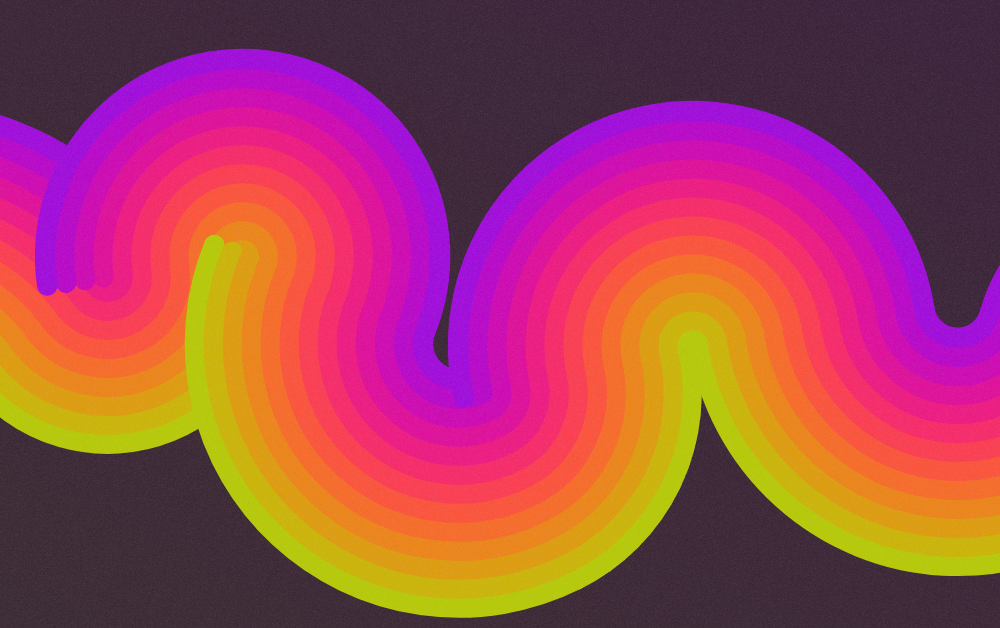
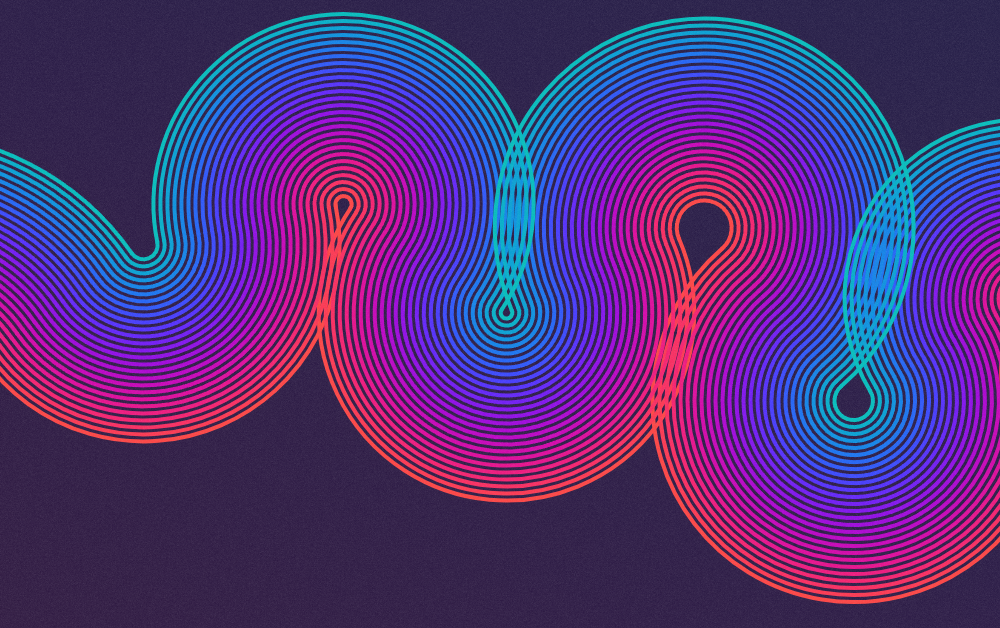
Arcer is a small class that takes a list of points and connects them with smooth, tangent-continuous circular arcs and outputs an array of objects that can be used to construct arcs with tools like Canvas or SVG. The renderer takes those arcs and fans them out into parallel offset ribbons, coloured across their width with a cosine palette. The result is something between a topographic map and a neon sign.
This post walks through how it works.
If you just want to go ahead and play with the code:
https://codepen.io/shubniggurath/pen/QwKbVja
Please share anything you make with me on X or Bluesky, I'd love to see.
Part 1: The Arcer class
1.1 The problem
Joining two points with a straight line is trivial. Joining them with a curve that arrives at P2 heading in a specific direction - and does so while departing P1 in a specific direction - is a bit more work.
The constraint here is tangent continuity. Each arc must leave P1 in whatever direction the previous arc arrived, and must arrive at P2 in whatever direction the next arc will depart. No jolt at the join.
For circular arcs, it turns out there's exactly one circle that passes through two given points and is tangent to a given direction at the first of them. Find that circle, and you've got your arc.
1.2 Alternating direction
One more constraint: the arcs alternate clockwise and anticlockwise. This is what produces the S-curve quality - the line snakes through the points rather than spiralling away from them or appearing at tangents.
const clockwise = this.points.length % 2 !== 0;Even indices go one way, odd indices go the other. Simple. This will become a little more complicated as we start to deal with arcs that may loop back on themselves, but we'll get to that in a while.
1.3 Finding the circle
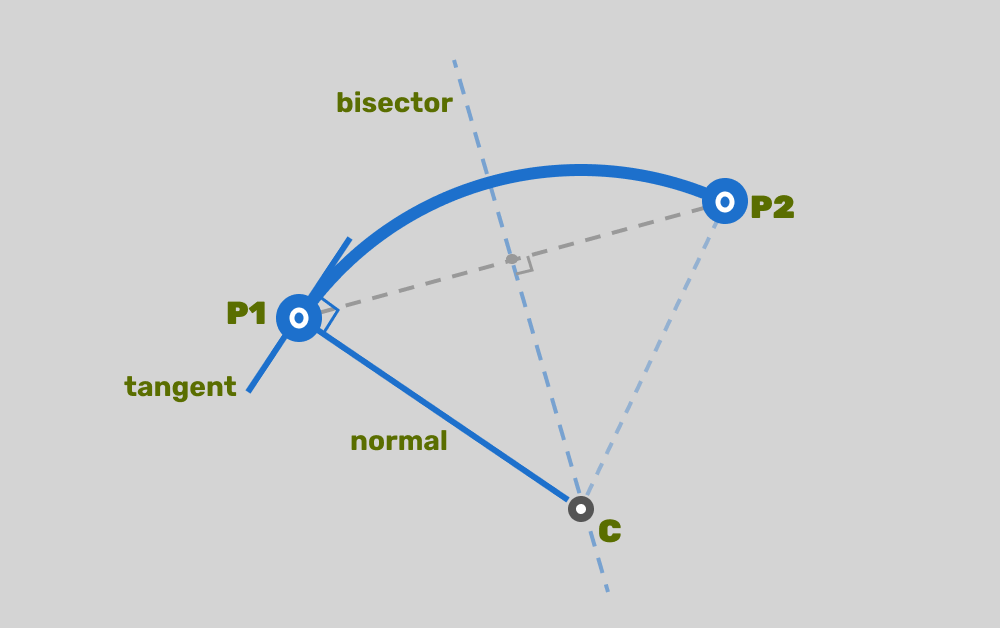
Given P1, a tangent direction at P1, and P2, here's how to find the center of the unique arc.
There are a few things we can reason about a circle that bisects two points:
- The center of any circle is equidistant from every point on it's circumfurence.
- The "normal" can be defined as the normalized vector between a point on the edge and the center.
- The normal can also be defined as the normalized vector perpendicular to the opening angle of the arc.
- To determine a perpendicular normal, you would take the opening angle of the arc, and rotate it by 90 degrees.
- The center lies on this normal.
- The center also lies on the perpendicular bisector of the chord P1>P2 (equidistant from both endpoints).
So both the normal and bisector are lines, and where they intersect is the center.
In code:
const normalAngle = clockwise
  ? tangentAngle - Math.PI / 2
  : tangentAngle + Math.PI / 2;
const normalDir = new Vec2(Math.cos(normalAngle), Math.sin(normalAngle));

const midpoint = P1.addNew(P2).scale(0.5);
const chordDir = P2.subtractNew(P1);
const bisectorDir = new Vec2(-chordDir.y, chordDir.x);
Then it's a standard line-intersection: parameterise both lines and solve. The denominator here is the cross product of the two direction vectors; if it's near zero, the lines are parallel (the chord is already parallel to the normal), which means we have a degenerate case: a straight line.
const denominator = normalDir.x * bisectorDir.y - normalDir.y * bisectorDir.x;

if (Math.abs(denominator) < 1e-10) {
  return { type: "line", ... };
}
Otherwise, solve for `t` along the normal direction and get the center:
const t =
  ((midpoint.x - P1.x) * bisectorDir.y - (midpoint.y - P1.y) * bisectorDir.x) /
  denominator;
const center = new Vec2(P1.x + t * normalDir.x, P1.y + t * normalDir.y);
Radius is just the distance from center to P1. Start and end angles are atan2 of the vectors from center to each point.
1.4 The direction correction
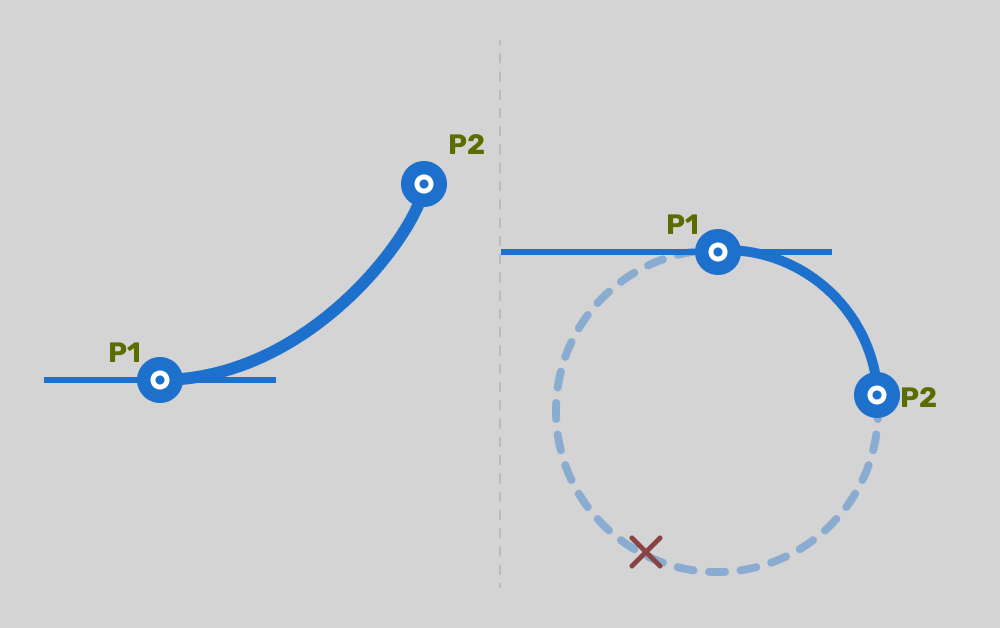
There's a subtle problem. Depending on where P2 lands relative to the tangent direction, the "predicted" clockwise direction might actually curl the arc backwards rather than forwards.
The fix is a cross-product check. The cross product of the tangent direction and the chord direction tells you which side of the tangent P2 is on:
const cross = tangentDir.x * chordDir.y - tangentDir.y * chordDir.x;
if ((!clockwise && cross < 0) || (clockwise && cross > 0))
  clockwise = !clockwise;
If the point is on the wrong side for the requested direction, flip it.
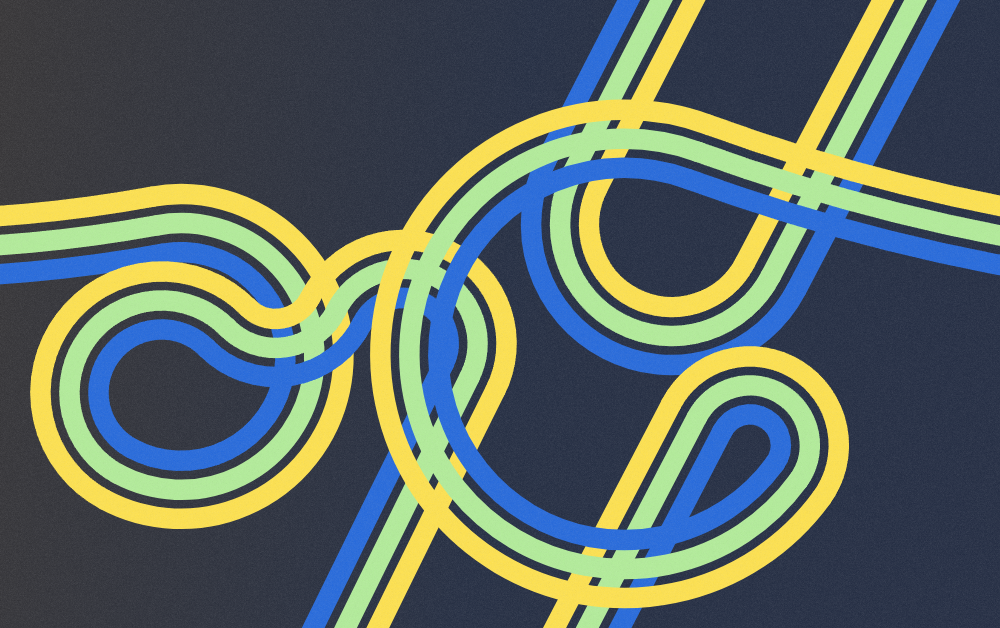
You can see, in the following image, the consequence of using the wrong canonical arc direction for a point that appeared in the wrong position releative to the previous arc's position.
The arc object carries an exitTangent - the direction of travel at P2. This is the tangent at the end of the arc, which is perpendicular to the radius at P2 (in whichever rotational direction the arc is going):
const exitTangent = clockwise ? endAngle - Math.PI / 2 : endAngle + Math.PI / 2;When the next arc is computed, it reads this value and uses it as its starting tangent. That's the whole mechanism for tangent continuity - each arc hands off to the next one.
Part 2: Into SVG
2.1 Arc to SVG path
SVG's path `A` command looks like this:
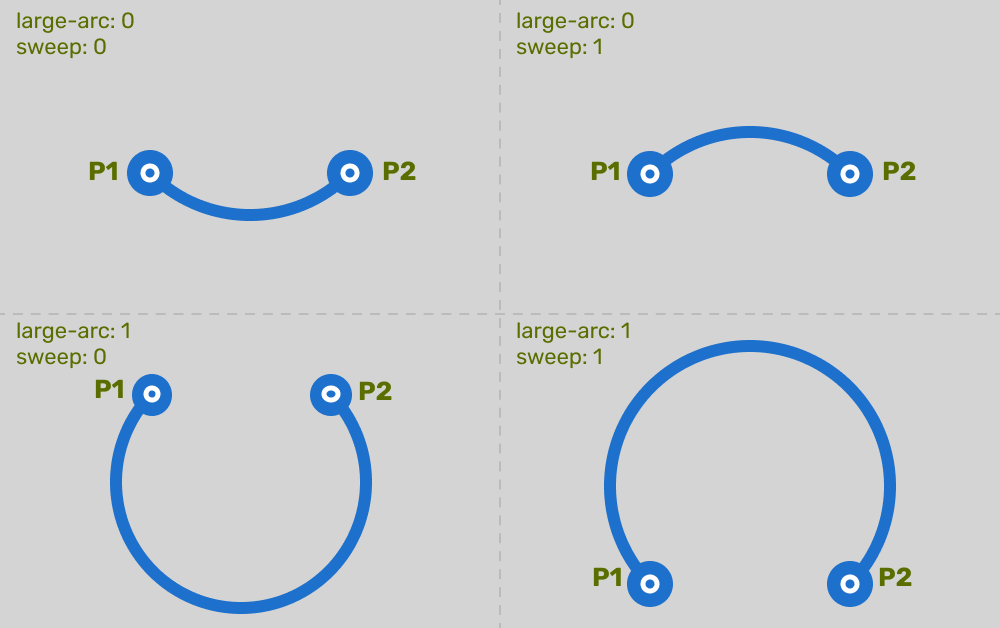
A rx ry x-rotation large-arc-flag sweep-flag x yFor circular arcs, rx and ry are both the radius, and x-rotation is always 0. The two flags are the interesting part.
large-arc-flag - for any two points on a circle, there are two arcs connecting them: the short way round and the long way round. This flag picks which one. It's 1 if the arc spans more than 180°.sweep-flag - 1 for clockwise, 0 for anticlockwise.
To get the large-arc flag, calculate the angular span in the direction of travel:
const span = clockwise
  ? (endAngle - startAngle + 2 * Math.PI) % (2 * Math.PI)
  : (startAngle - endAngle + 2 * Math.PI) % (2 * Math.PI);
const largeArc = span > Math.PI ? 1 : 0;
The modulo wrapping handles the case where start and end angles cross ±π.
2.2 Offset arcs (parallel curves)
projectArc creates a copy of an arc at a different radius - shifted outward or inward from the original. Since all arcs in a segment share the same center and the same start/end angles, a radius change is all you need. The new P1 and P2 fall out of the new radius and the existing angles:
function projectArc(arc, distance) {
  const r = arc.radius + distance;
  if (r <= 0) return null;
  return {
    ...arc,
    radius: r,
    P1: new Vec2(
      arc.center.x + Math.cos(arc.startAngle) * r,
      arc.center.y + Math.sin(arc.startAngle) * r,
    ),
    P2: new Vec2(
      arc.center.x + Math.cos(arc.endAngle) * r,
      arc.center.y + Math.sin(arc.endAngle) * r,
    ),
  };
}
One subtlety: anticlockwise arcs need their offset negated so both directions project consistently to the same side of the direction of travel. Without this, every other arc would fan out in the opposite direction to its neighbours and the ribbons would diverge at each join.
const effectiveDistance = arc.clockwise ? distance : -distance;
2.3 The step loop and rendering order
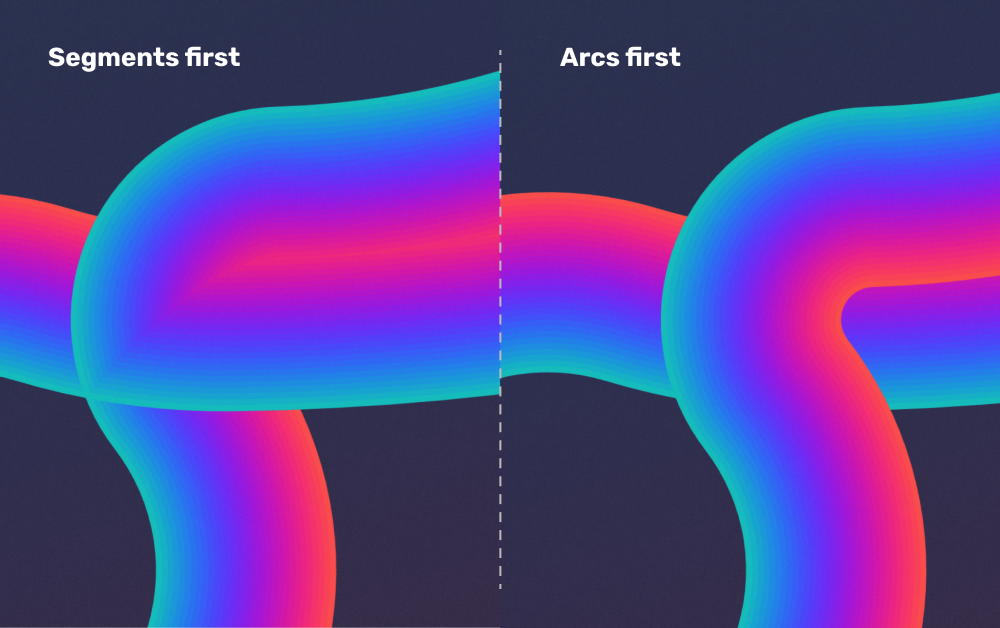
Each arc is drawn steps times on each side, at offsets of stepOffset pixels per step. The order this happens in changes the look significantly.
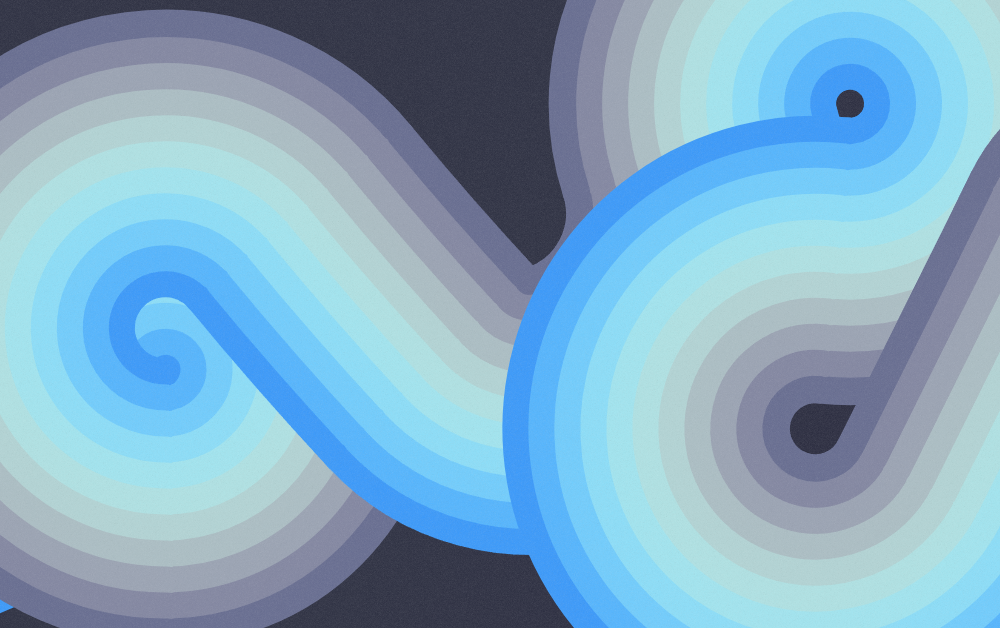
Segments-first (default): all arcs are drawn at offset −N, then all at −N+1, and so on up to +N. Each step gets one colour from the palette, and because all arcs share that colour at the same step, the ribbons read as continuous coloured contour lines flowing across the whole composition.
Arcs-first: each arc draws all of its offset copies before moving to the next one. The ribbons now read per-arc - you see each segment as a discrete object. The colour continuity is broken at the joins.
Part 3: Using it to make things
The parameters aren't just knobs.
steps × stepOffset is the total ribbon width. Keeping the width constant while adjusting the ratio changes the resolution: more steps and smaller offset produce smooth gradients; fewer steps and larger offset give bold, discrete bands.
pointCount trades complexity for legibility. Three or four points give clean, readable forms. Ten or more, and it starts to feel like a frequency plot — still interesting, but you lose the sense of a single continuous line.
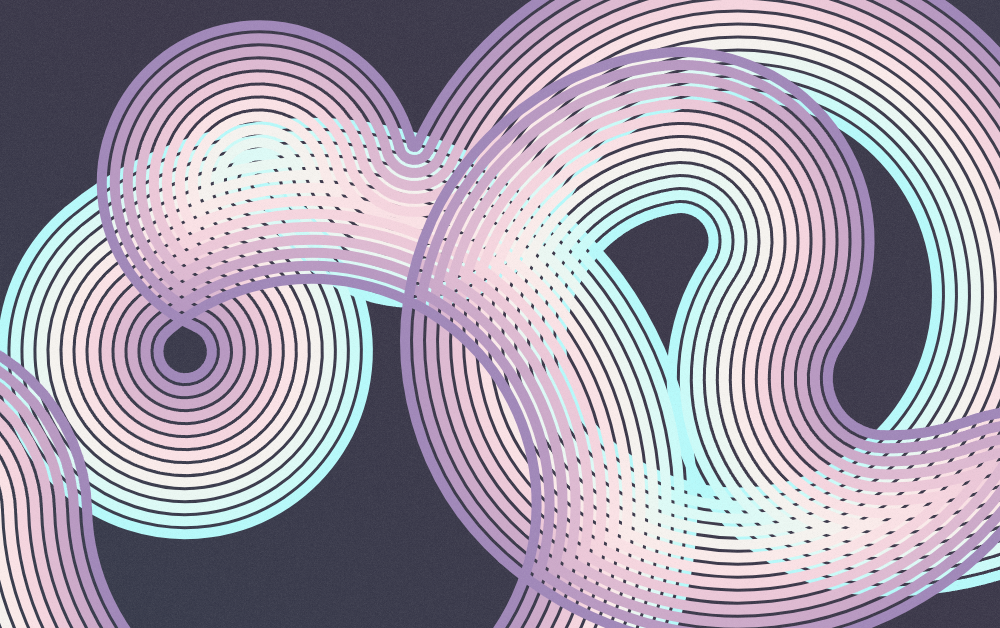
lineWidth interacts with offset spacing. At small offsets with thin lines, there's breathing room between strokes - you get hatching. At large offsets with thick lines, the strokes merge into solid bands. The sweet spot depends on the palette and what you're going for.
Draggable points (enable "Edit Points") Let you sculpt the composition by hand. It's a fast way to find a layout that works before locking it in. The composition is still randomisable - hit Regenerate to get a fresh layout - but dragging lets you chase a specific shape without writing coordinates by hand.
https://codepen.io/shubniggurath/live/QwKbVja
Please share anything you make with me on X or Bluesky, I'd love to see.